Jailbreak Apple TV 2G Untethered on iOS 4.3.1 using Seas0nPass[ How to ]
Tuesday, April 05, 2011
The guys over FireCore has updated Seas0nPass to bring untethered jailbreak on iOS 4.3.1 with the help of i0nic's untethered exploit. Check out the official step by step guide after the jump.
Pre-launch checklist
Step 1: Unzip the 'Seas0nPass.zip' file and launch Seas0nPass.
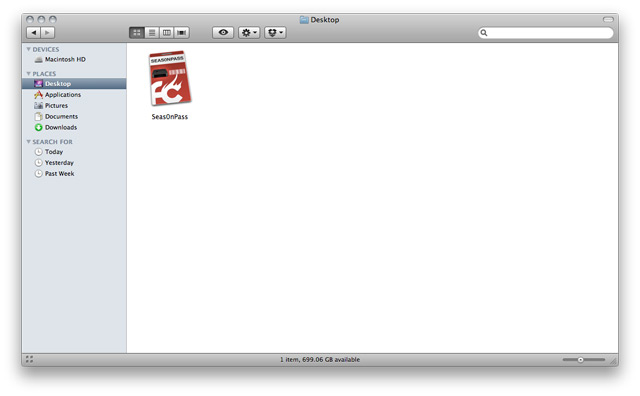 Step 2: If your AppleTV is not yet jailbroken, select 'Create IPSW'. (if already jailbroken, and you just need to do a 'tethered boot' scroll down).
 Step 3: The latest AppleTV software will be downloaded and used to create a custom 'jailbroken' software file.
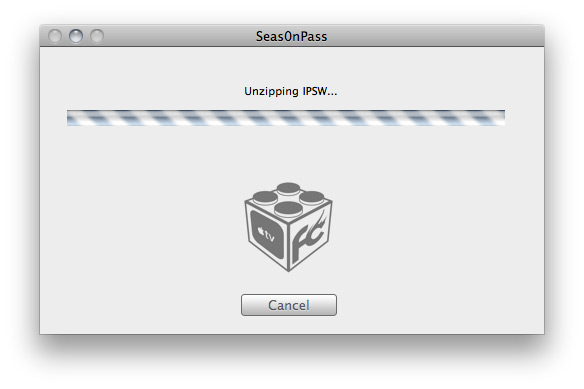 Step 4: When prompted, connect your AppleTV using a micro-USB cable (leave power disconnected), and hold both the 'MENU' and 'PLAY/PAUSE' buttons for 7 seven seconds.
 Step 5: iTunes will open automatically and start the restore process.
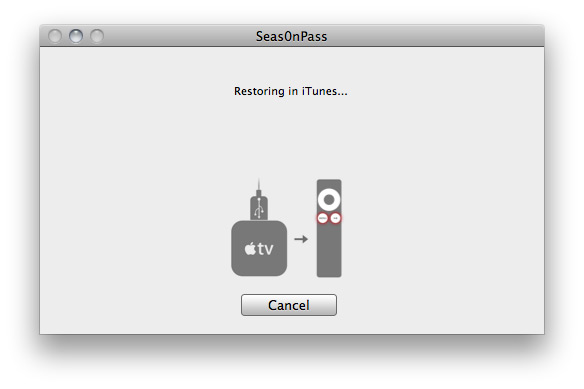 Step 6: iTunes will confirm the restore when complete - your AppleTV is now jailbroken. Please proceed to the 'tethered boot' section below.
Note: The AppleTV MUST be disconnected from the computer (for at least a brief moment) after restoring in iTunes for the tethered boot process below to work properly.
Step 1: Open Seas0nPass and select the 'Boot Tethered' option.
 Step 2: When prompted, connect the AppleTV to your computer via USB. Wait for the rapid flashing light then connect the power. Once both are connected hold both the 'MENU' and 'PLAY/PAUSE' buttons for 7 seven seconds.
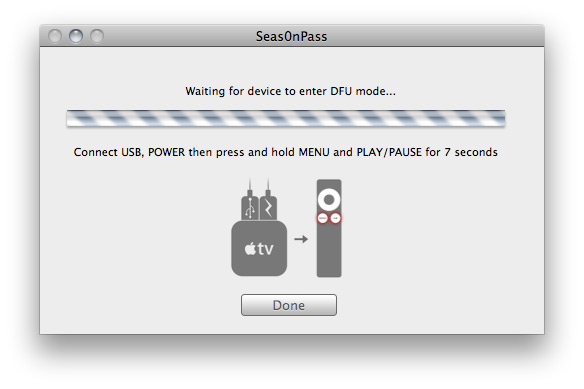 Step 3: Seas0n Pass will complete the tethered boot automatically. Once complete, remove the USB cable and connect the HDMI cable.
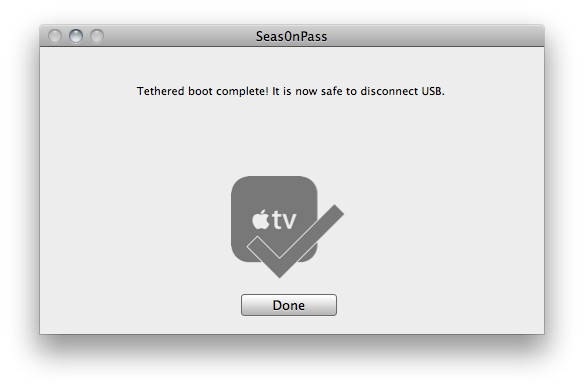
Note: Timing is key. Once the you receive the success message shown below, the USB cable should be removed and HDMI cable connected before the light on the front of the AppleTV stops flashing. (Don't worry there is ample to do this, so you don't need Superman speed).
Pre-launch checklist
- Make sure you're running the latest version of iTunes.
- Download Seas0nPass: Mac [10.6 or later] | Windows [XP or later]
- A micro USB cable will be required to complete the jailbreak.
- Disconnect all iPods, iPhones, and iPads from the computer before running Seas0nPass.
Step 1: Unzip the 'Seas0nPass.zip' file and launch Seas0nPass.


Using Seas0nPass for a 'tethered boot'
Some AppleTV software versions require a tethered boot. This means the AppleTV must be connected to a computer for a brief moment during startup.Note: The AppleTV MUST be disconnected from the computer (for at least a brief moment) after restoring in iTunes for the tethered boot process below to work properly.
Step 1: Open Seas0nPass and select the 'Boot Tethered' option.


Note: Timing is key. Once the you receive the success message shown below, the USB cable should be removed and HDMI cable connected before the light on the front of the AppleTV stops flashing. (Don't worry there is ample to do this, so you don't need Superman speed).

If you found this post useful, dont forget to click the +1 button =>
You can follow Geohot on Twitter or become a fan on Facebook or by Email Subscribe to get All news Free
This entry was posted on October 4, 2009 at 12:14 pm, and is filed under
Apple,
ios 4.3.1,
Jailbreak
. Follow any responses to this post through RSS. You can leave a response, or trackback from your own site.
Jailbreak Apple TV 2G Untethered on iOS 4.3.1 using Seas0nPass[ How to ]
The guys over FireCore has updated Seas0nPass to bring untethered jailbreak on iOS 4.3.1 with the help of i0nic's untethered exploit. Check out the official step by step guide after the jump.
Pre-launch checklist
Step 1: Unzip the 'Seas0nPass.zip' file and launch Seas0nPass.
 Step 2: If your AppleTV is not yet jailbroken, select 'Create IPSW'. (if already jailbroken, and you just need to do a 'tethered boot' scroll down).
 Step 3: The latest AppleTV software will be downloaded and used to create a custom 'jailbroken' software file.
 Step 4: When prompted, connect your AppleTV using a micro-USB cable (leave power disconnected), and hold both the 'MENU' and 'PLAY/PAUSE' buttons for 7 seven seconds.
 Step 5: iTunes will open automatically and start the restore process.
 Step 6: iTunes will confirm the restore when complete - your AppleTV is now jailbroken. Please proceed to the 'tethered boot' section below.
Note: The AppleTV MUST be disconnected from the computer (for at least a brief moment) after restoring in iTunes for the tethered boot process below to work properly.
Step 1: Open Seas0nPass and select the 'Boot Tethered' option.
 Step 2: When prompted, connect the AppleTV to your computer via USB. Wait for the rapid flashing light then connect the power. Once both are connected hold both the 'MENU' and 'PLAY/PAUSE' buttons for 7 seven seconds.
 Step 3: Seas0n Pass will complete the tethered boot automatically. Once complete, remove the USB cable and connect the HDMI cable.
Note: Timing is key. Once the you receive the success message shown below, the USB cable should be removed and HDMI cable connected before the light on the front of the AppleTV stops flashing. (Don't worry there is ample to do this, so you don't need Superman speed).

Pre-launch checklist
- Make sure you're running the latest version of iTunes.
- Download Seas0nPass: Mac [10.6 or later] | Windows [XP or later]
- A micro USB cable will be required to complete the jailbreak.
- Disconnect all iPods, iPhones, and iPads from the computer before running Seas0nPass.
Step 1: Unzip the 'Seas0nPass.zip' file and launch Seas0nPass.


Using Seas0nPass for a 'tethered boot'
Some AppleTV software versions require a tethered boot. This means the AppleTV must be connected to a computer for a brief moment during startup.Note: The AppleTV MUST be disconnected from the computer (for at least a brief moment) after restoring in iTunes for the tethered boot process below to work properly.
Step 1: Open Seas0nPass and select the 'Boot Tethered' option.


Note: Timing is key. Once the you receive the success message shown below, the USB cable should be removed and HDMI cable connected before the light on the front of the AppleTV stops flashing. (Don't worry there is ample to do this, so you don't need Superman speed).

Subscribe to:
Post Comments (Atom)


